

Measuring your kitchen sounds simple until you’re trying to order cabinets, price countertops, or confirm whether your dream island will fit. The good news is you can gather accurate, useful measurements with the right tools and a methodical approach. Below, we’ll show you how to properly measure your kitchen for remodeling projects.
What You’ll Need Before You Start
You do not need professional equipment, but you do need tools and a clear way to document everything. Use a tape measure that locks in place and reads in inches. Keep a clipboard or notebook, a pencil, and painter’s tape for labeling key points in the room. A level and a flashlight also help you spot issues like bowed walls, uneven floors, and hidden utility lines.
If you can, use a second person for longer wall runs. A helper makes it easier to keep the tape straight, and it reduces “tape sag” that can throw off measurements.
Start With a Simple Floor Plan Sketch
You do not need perfect drawing skills to make a useful sketch. Draw the kitchen as a rough rectangle or series of rectangles that match the room shape. Include every doorway, window, and opening to adjacent rooms. Add arrows to show how traffic naturally flows through the space.
Label each wall with a letter, like Wall A, Wall B, Wall C, and Wall D. Then record all measurements by wall label to avoid confusion later. A clear sketch helps your remodeler see the whole room quickly and prevents assumptions that create mistakes.
Measure The Overall Room Dimensions
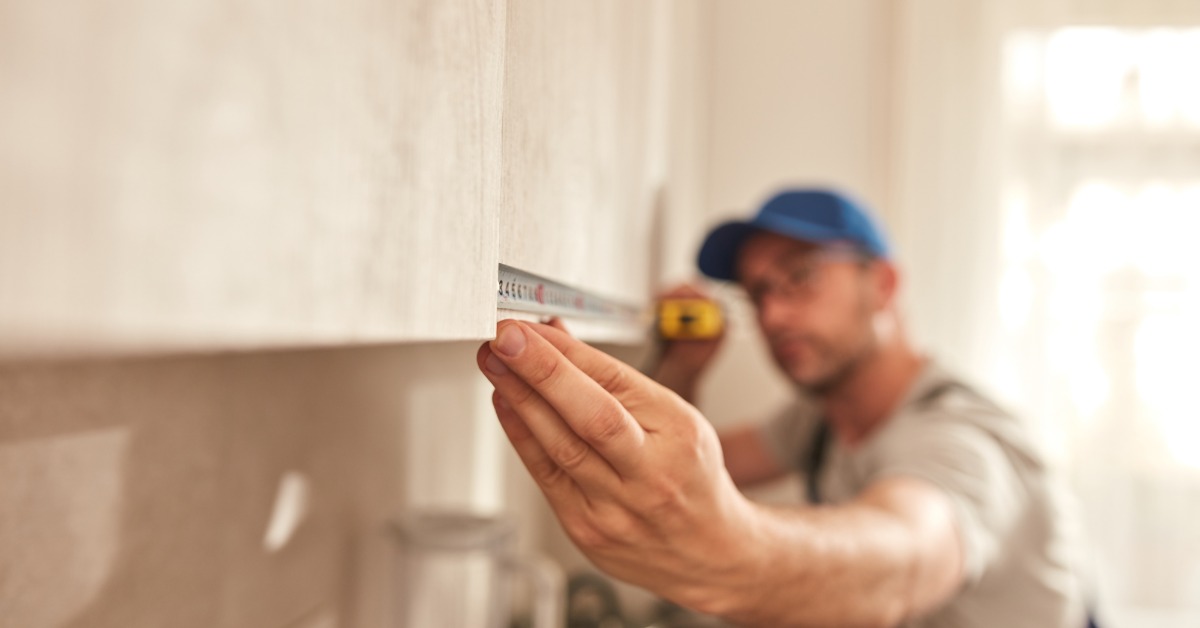
To properly measure your kitchen for remodeling projects, start with the length of each wall at floor level. Write down the full wall length from corner to corner, even if cabinets stop short of the ends. Next, measure the width of the room if it is a simple rectangle. If the kitchen has bump-outs, angled corners, or alcoves, measure those separately and note their locations on your sketch.
Measure the ceiling height in at least three places. Take one measurement near each corner and one in the center of the room if possible. Many kitchens look level but vary by half an inch or more.
Check Walls, Floors, and Corners For “Reality”
Most kitchens are not perfectly square. What matters is knowing where the room is out of square, so your plan can account for it. Use a level to check whether the floor slopes and whether the walls lean. If you have a long level, check several points along the cabinet walls, because small dips can stack into bigger problems across a run.
To check squareness, measure diagonally from one corner to the opposite corner, then do the other diagonal. If the two diagonal measurements do not match, your room is out of square. Record both diagonal measurements on your sketch.
Document Doors, Openings, and Traffic Paths
A kitchen remodel can change how you move through the space. Measure each doorway or opening from trim to trim. Then determine the height from the floor to the underside of the header or trim. Note which direction each door swings and whether it blocks cabinet or appliance zones when open.
Also measure the distance from door openings to nearby corners. That spacing affects whether a base cabinet can start immediately or whether you need a filler for clearance. If your kitchen opens into a hallway or dining area, measure the width of the main traffic lane.
Measure Windows Precisely
Windows affect upper cabinet layout, backsplash height, and sink placement. Measure the window width from jamb to jamb, not from trim to trim, unless you plan to replace the trim. Then measure the window height the same way. Record the distance from the left corner of the wall to the window opening, then the distance from the right corner to the window opening.
Next, measure the sill height from the floor. That number is critical for sink windows, faucet clearance, and whether you can run countertop material up to the window.
Capture Existing Cabinet Runs and Counter Depths
Even if you plan to replace everything, the existing layout tells you what currently works and what feels tight. Measure the length of each cabinet run along the wall. Note where cabinets begin and end, and record any gaps or fillers you see. Then measure the depth of your base cabinets, including doors and hardware, so you understand your current footprint.
Measure countertop overhang at the front edge and any side overhangs. If your counters extend beyond the cabinet boxes, that may affect appliance fit and circulation.
Record Appliance Locations and Clearances
Appliances are where many kitchen plans go wrong. Measure the width, height, and depth of each appliance, then compare those numbers to the cutout space and clearance around it. A refrigerator needs space for door swing and airflow, while a range needs safe clearances to combustible materials and space for ventilation above.
Measure from the wall corner to the edge of the appliance space, and record the full width of the opening. If the appliance sits between cabinets, measure the distance between cabinet sides, not just the rough space.
Measure Plumbing and Electrical “Fixed Points”
Your remodeler can move plumbing and electrical, but “where it is now” still matters for estimating cost and evaluating feasibility. Locate and measure the position of the sink drain and water supply lines relative to the nearest wall corner. If the lines are in a cabinet, measure from the cabinet’s inside left wall and from the back wall so the location is clear.
For outlets and switches, measure their height from the finished floor and their distance from the nearest corner. Note any dedicated circuits you know about, such as for a microwave, disposal, dishwasher, or refrigerator.
Don’t Forget Vertical Measurements and Upper Cabinet Zones
Horizontal numbers get attention, but vertical constraints are just as important. Measure the distance from the countertop to the bottom of your existing upper cabinets. If you want a taller backsplash or full-height slab backsplash, those heights matter.
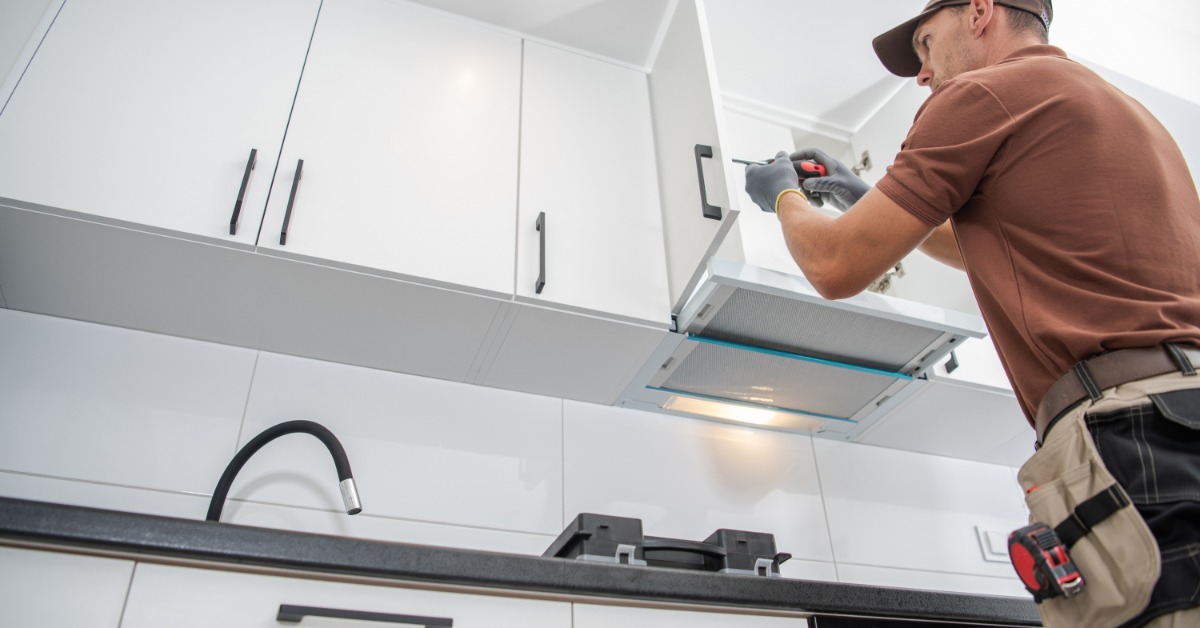
Measure any soffits, bulkheads, or ceiling drops that change cabinet height or block tall pantry units. If you plan to install a range hood, measure the ceiling height above the range area and note whether ducting can run straight up or needs to turn.
When To Bring in a Professional Measurement
If you plan to order custom cabinetry, stone countertops, or built-in appliances, professional verification is worth it. A remodeler or designer will measure for layout planning, and fabricators typically template countertops after installing cabinets. Still, your own measurements help you start planning early and have better conversations about budget, scope, and priorities.
A professional also spots issues that are easy to miss, like uneven framing behind drywall, venting limitations, and structural constraints.
Next Steps Before You Finalize a Remodel Layout
Once you have your measurements, compare them to how you want your kitchen to function. Your measurements give you the boundaries, but your lifestyle determines the best layout within those boundaries.
If you’re interested in kitchen remodeling in Denver, look no further than A2Z Builders. We support homeowners in the Denver area with a collaborative approach that combines design and construction under one roof, so your plan stays aligned from the first drawing to the final installation.